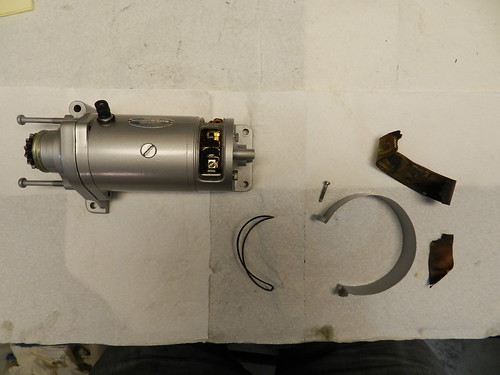
Remember when disassembling the starter that the field is connected to the brushes. So don't undo the bolts on the rear case cap and just pull. You need to disconnect the field from the brush first (remove small philips screw holding brush lead) before removing the rear case cap.
P1130004 by adam.corts, on Flickr
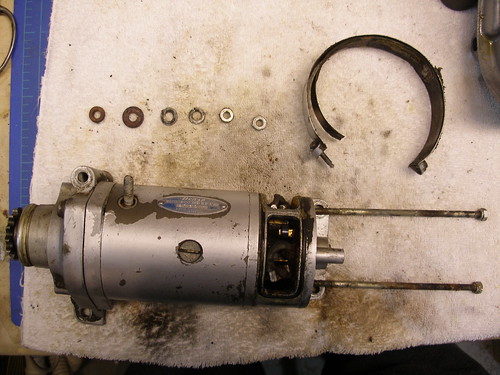
P1130005 by adam.corts, on Flickr
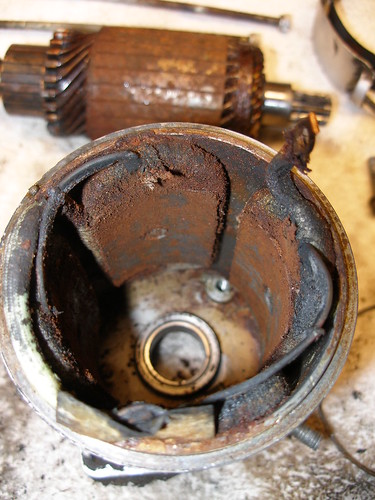
It was packed with dirt and rust. One of the starter brush holders was loose. The rivet holding it down had rusted away. A brush spring was also corroded enough to make it unserviceable and the Field wire (Thick copper wire soldered to the main positive input post) was broken and disconnected from the main post.
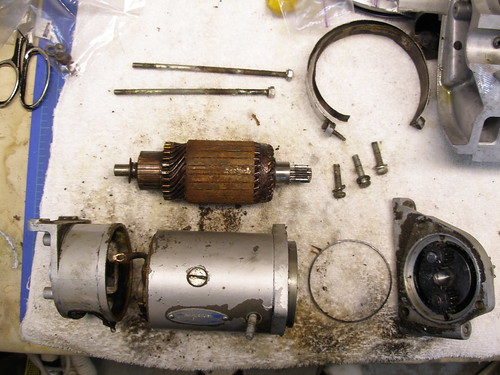
P1130006 by adam.corts, on Flickr
The field itself was very packed and rusted as well.
P1130016 by adam.corts, on Flickr
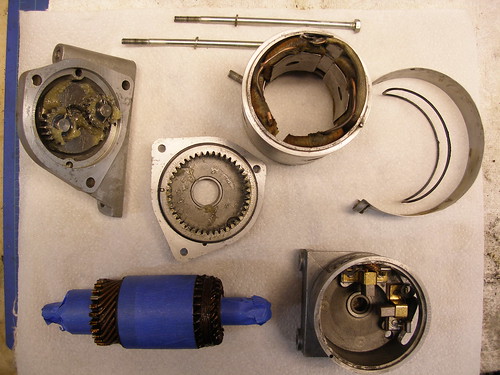
Gears looked good but man the grease was black as coal and thick.

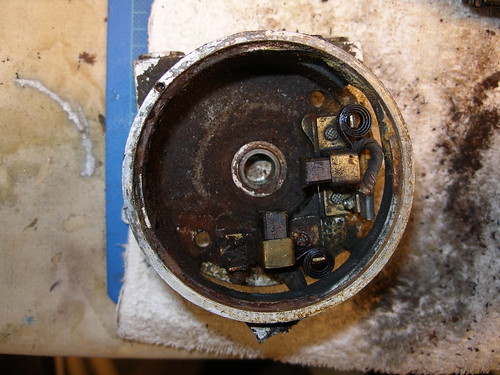
P1130008 by adam.corts, on Flickr
I took to disassembling all the parts and cleaning them thoroughly. It took some time but things were looking up and up. To clean the main case properly, I removed the field. I used an impact screw driver with proper sized blade to remove the 4 screws holding each of the iron field plates to the starter case. Then once the main starter case was clean inside and out, I cleaned the fields.
I removed the main post and re-soldered the field wire to the main post. Then put it back together making sure to get the insulator back on the post. The copper wire is thick and difficult to bend to get the post into position but it can be done just take your time. It is important to check this field connection and the connection made near the brushes, as they are vital to the success of this rebuild.
I got a new rivet for the brush holder. It was a straight rivet not a pop rivet. Drilled out the old one and installed the new rivet. It looked slightly different but nothing supper noticeable. It worked out great. Got new starter brushes and springs and installed them. The armature was starting to lose its protective wire coating so I masked off the armature leaving only the wires exposed. I took the starter to an Auto Electric shop in town here in Missoula, Montana and they sprayed it for free with a coating to protect the wires. I'll find out what it was they sprayed and I'll edit it into the post. I got some Hi-temp Disc Brake / Wheel Bearing Grease (by Master Pro) and coated the planetary gears and ring system.
P1150020 by adam.corts, on Flickr
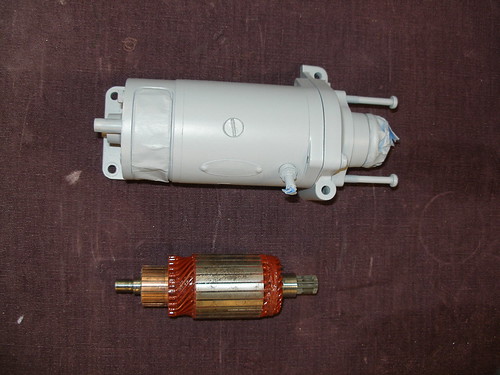
I then assembled the starter (Minus the innards) and masked it off and primed it.
Here is a picture of the Armature wires coated and the starter case primed with Duplicolor ceramic primer.
P1280046 by adam.corts, on Flickr
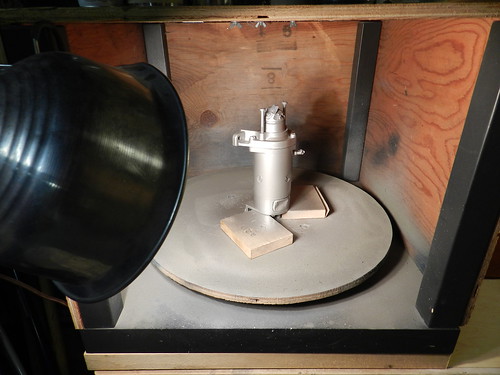
Off to the paint booth. DIY of course!
DSCN0043 by adam.corts, on Flickr
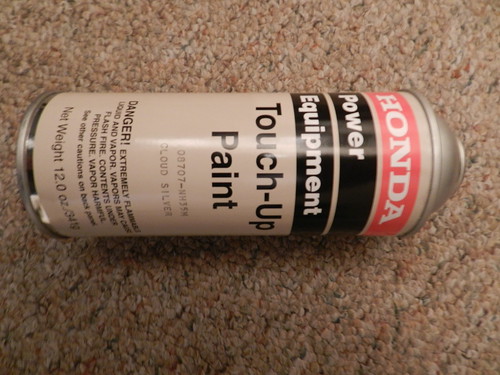
The paint I have been using is Honda Power Equipment, Cloud Silver Paint. I just ordered some more so it's still available. I have done my entire engine in this paint. It seems to be a great match to original Honda Cloud Silver. But it does not hold up to carb cleaner. Good for fuel though, I believe.
DSCN0055 by adam.corts, on Flickr
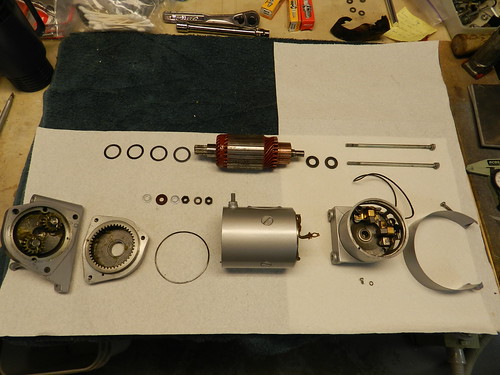
After paint I took the starter case apart again. I have set everything out in the order I believe it goes back together. Comments welcome. One mistake noted in the picture is the thin o-ring gasket between the planetary gear ring housing and the field housing. That is misplaced and goes between the planetary gear housing and the planetary ring housing.
DSCN0054 by adam.corts, on Flickr
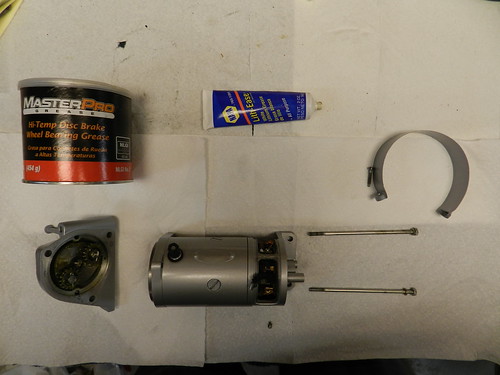
The starter can be reassembled using a light coat of Lithium Grease on the shims and the bearing journals of the armature, front and rear. Then pack the planetary gear system with High temp wheel bearing grease, more is better here. This is the gears only source of lube. All the grease should be contained in this closed system by the seals.
DSCN0077 by adam.corts, on Flickr
Thanks and I hope this helps people concur their electric starters.
Thanks to 48lesco for answering my questions:
These are the questions I asked to complete this tutorial add more if you like: There are four thin metal round shims in the front of the armature, three thin and one a little thicker. Also two smaller ones in the back of the armature. What is the order of these shims? (Thick ring first then thin, thin, thin????? toward the planetary gears?????) What is the Idea behind these? Do they need lube? Do you lube the armature shaft near the brushes at all? How much is too much grease in the planetary gear system?