Page 1 of 4
Ground up: making a SuperHawk from scrap
Posted: Sat Mar 12, 2016 9:36 am
by dave_c
Hey everyone, I thought it would be a good idea to share this project with the community, in appreciation for all the information others have posted. Maybe I can add a little bit to the knowledge base as I take on a big project.
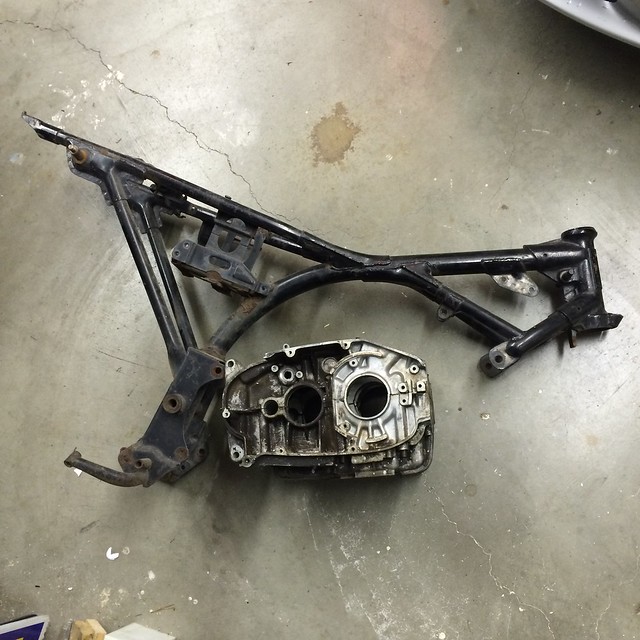
What we have here is a CB72 frame and a CB77 case. This is taken from a friend's garage. He raced vintage bikes several years ago, and as such has a vast collection of disassembled engines. So, I'm attempting to pull a bike from this collection, one piece at a time. I know it violates the cardinal rule of restoration (start with as complete a foundation as possible) but you have to admit it makes for a cool winter project.
Cheers,
Dave
Posted: Sat Mar 12, 2016 1:19 pm
by G-Man
Dave
It's all therapy however you do it. I started a project bike from just a rear hub once. I'll lay money on it that you'll end up with enough parts to build two by the time you've finished. :-)
G
Posted: Sat Mar 12, 2016 10:05 pm
by Steverino
Dave
You will have a blast. A few years ago I bought a pickup truck load of CB160 parts. When I'm not working on other projects, I build CB160s. It is very rewarding building them out of nothing.
1st one Built from parts.
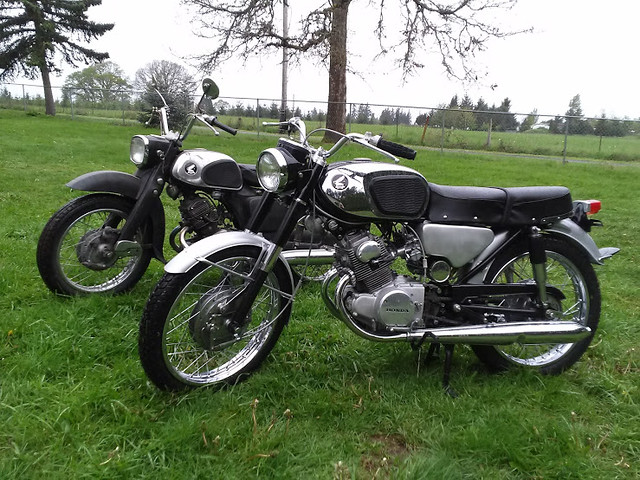 CA95 and CB160 Day One
 by
Steve Steverinomeister, on Flickr
Current CB160 project built from parts.
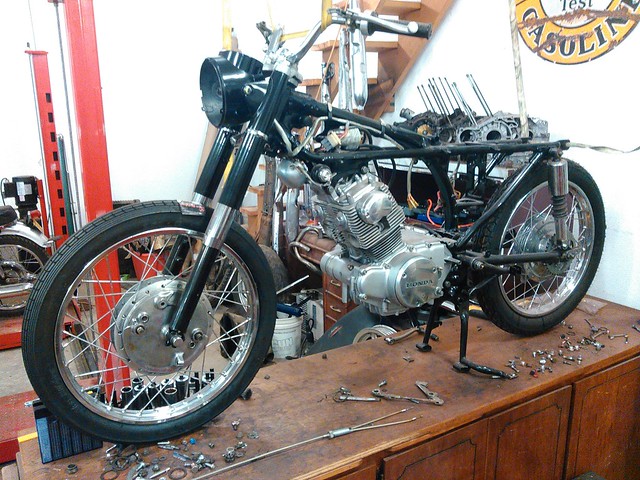 KIMG0501 (1)
 by
Steve Steverinomeister, on Flickr
Posted: Sun Mar 13, 2016 12:07 pm
by G-Man
first steps
Posted: Sun Mar 13, 2016 12:08 pm
by dave_c
Wow Steverino, that's a nice looking 160. Chuck (my friend and source of most of my parts) also has one of those set up for racing and looking sharp in his living room.
For my project, there seem to be four stages. The first of these is metal cleaning. I got a giant stock pot and a gallon of Simple Green (lemon flavor) and set up a gentle parts washing station using the side burner on my gas grill. Lots of hours were spent huddling under the eaves and boiling away grime.
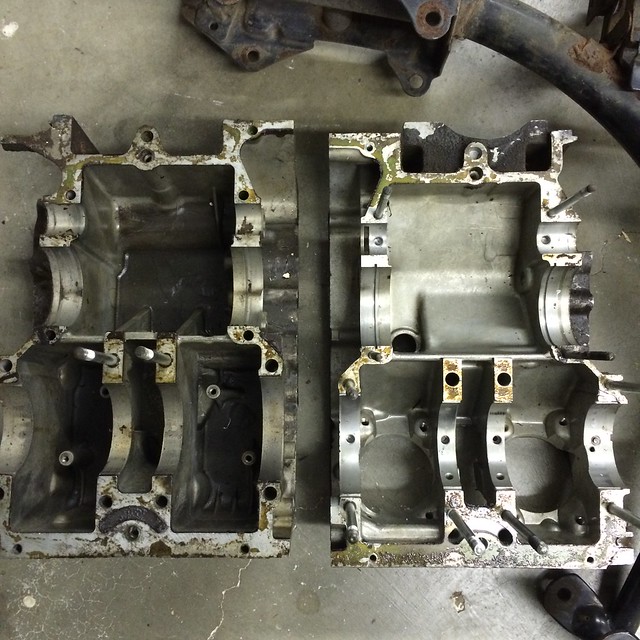
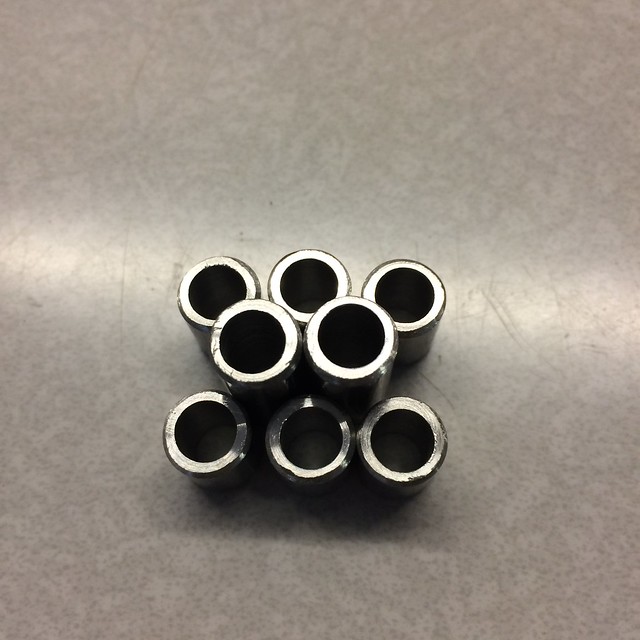
The second stage is making parts - mostly on the lathe which I am very fortunate to access at work. Small parts like the knock pins that hold the cases in alignment were dismissed as too difficult to sort out of the junk pile, so I took measurements, took my best guess using Bill Silver's engine rebuild guide, and made my own.
Re: first steps
Posted: Sun Mar 13, 2016 12:21 pm
by G-Man
You're almost done...... :-)
G
dave_c wrote:Wow Steverino, that's a nice looking 160. Chuck (my friend and source of most of my parts) also has one of those set up for racing and looking sharp in his living room.
For my project, there seem to be four stages. The first of these is metal cleaning. I got a giant stock pot and a gallon of Simple Green (lemon flavor) and set up a gentle parts washing station using the side burner on my gas grill. Lots of hours were spent huddling under the eaves and boiling away grime.

The second stage is making parts - mostly on the lathe which I am very fortunate to access at work. Small parts like the knock pins that hold the cases in alignment were dismissed as too difficult to sort out of the junk pile, so I took measurements, took my best guess using Bill Silver's engine rebuild guide, and made my own.

Posted: Thu Mar 17, 2016 2:40 am
by honda brian
Keep it up Dave. It's very satisfying building a good bike from a load of bits.
Brian.


