First I took my tank off and drained it. I left my petcock on (even though not pictured below). I did take the screen out of the petcock, even though I don't think it would have done anything to it. I had recently bought new tubing for my bike, so I took some left over and attached it to the tank, clipping it off so about 1.5" was hanging off.
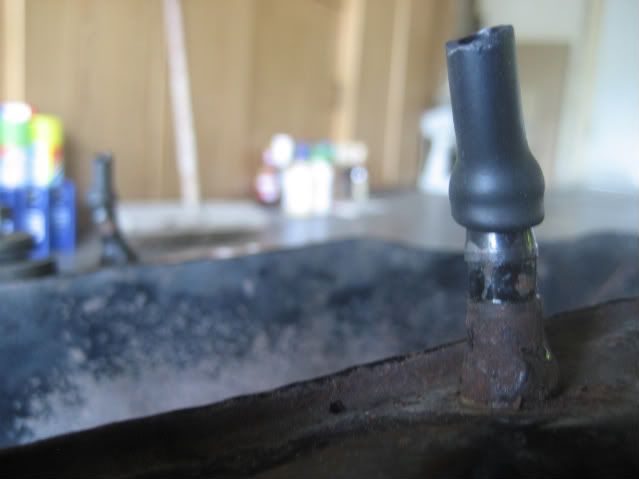
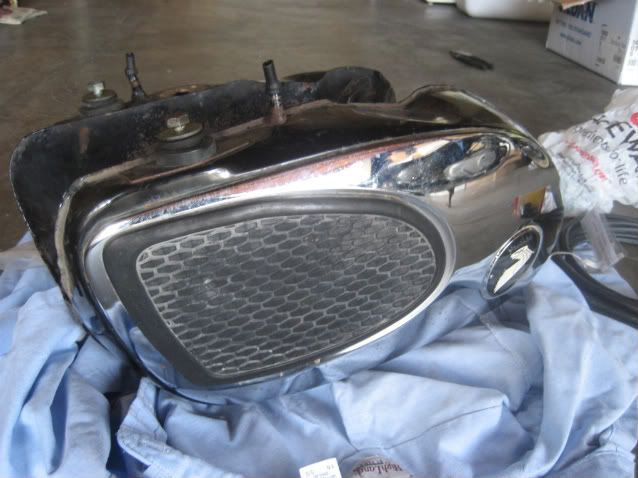
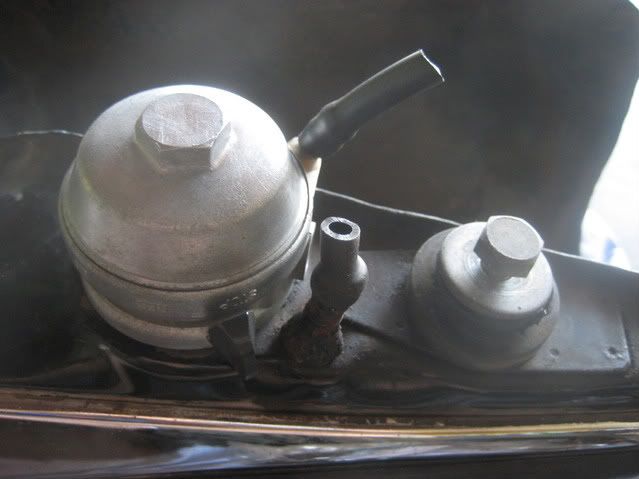
After putting tubing on the three exits of the tank, I tied them shut with some twine. You may get some leakage, so be prepared to tighten the petcock / your knots.
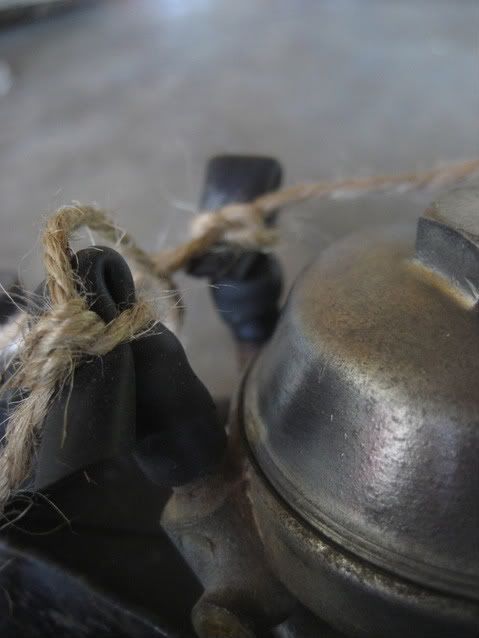
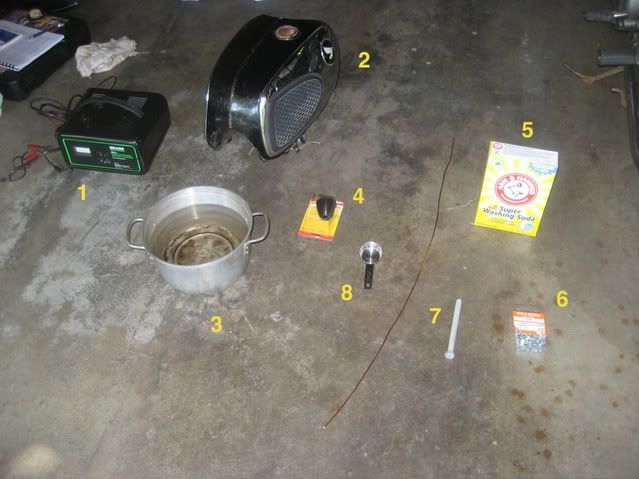
Now you'll need
1) A 10 amp car charger (6amp will work, but will just take longer)
2) Prepped gas tank
3) Bucket / Pot to mix in (you'll need 4 gallons of water)
4) Some sort of rubber. I bought rubber "Tie rod dust boots" from Kragen (~$6) and they worked great.
5) Washing Soda. 'Where in the world do you get this?' you might ask. You usually can get it as your local grocery store. You can easily find it by calling 1-800-524-1328 and giving them the UPC code 33200-03020. They should tell you the closest place to buy it.
6) Nuts / BBs
7) Steel wire / steel parts which will become your sacrificial anode
8) Measuring cup
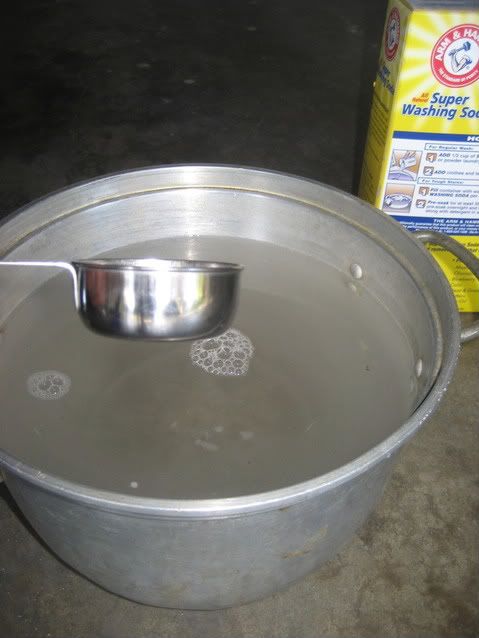
Fill the gas tank with a water + washing soda mixture. You should use 1/4 cup washing soda per 2 gallons of water. So w/4 gallons it was 1/2 cups.
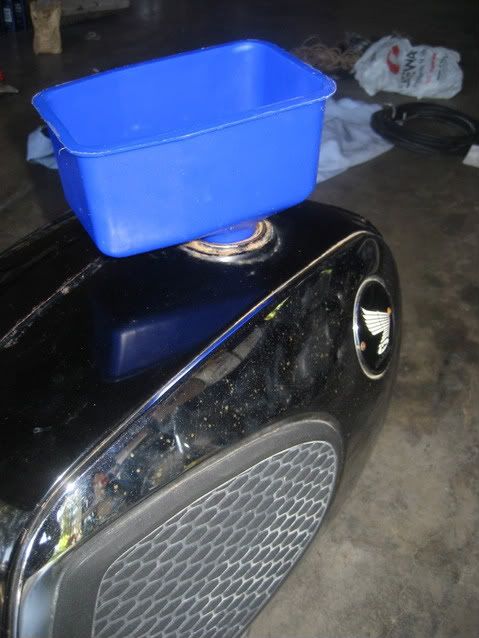
Funnel helped a lot
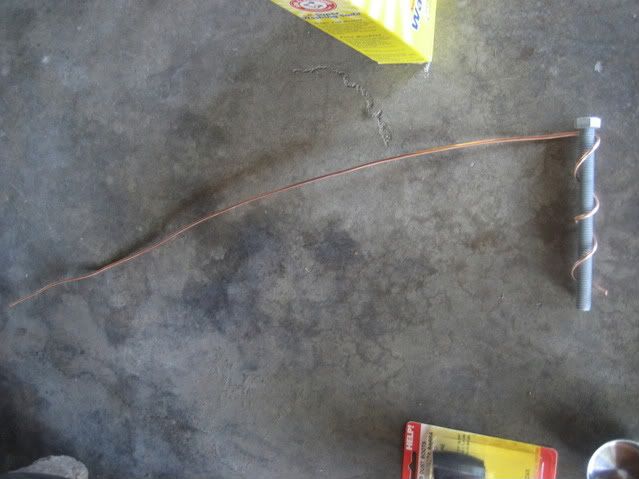
The idea is to make something that hangs the steel inside of the gas tank but does not touch the inside of the gas tank. Here was my rendition. I had to change the material in the end, because copper / whatever this bolt was made of did not give me good results.
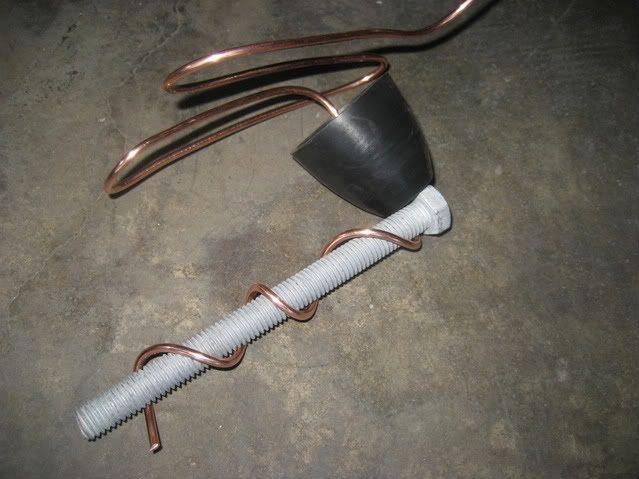
I used the rubber parts to place the metal through to gas tank hole without it touching the sides.
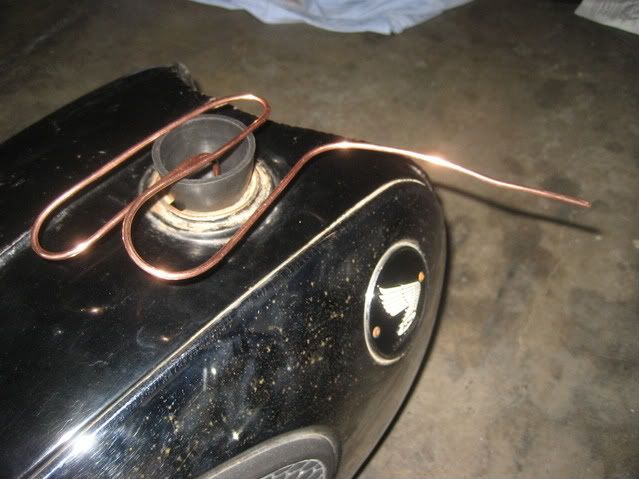
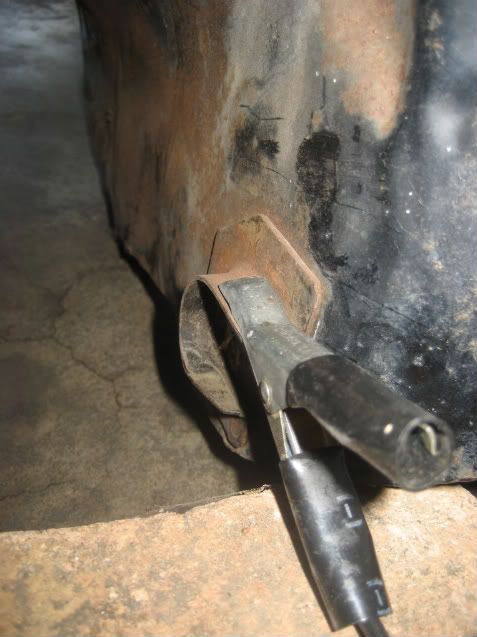
Now connect the positive battery charger wire to the metal hanging in the tank, and connect the negative side directly to the tank
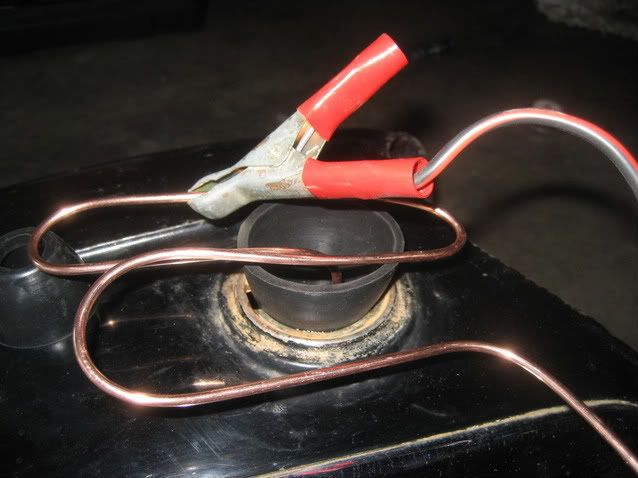
After turning on your charger, you should start to see bubbles coming of the steel hanging in the tank. When I took mine out after ~ 2hours, it look like this.
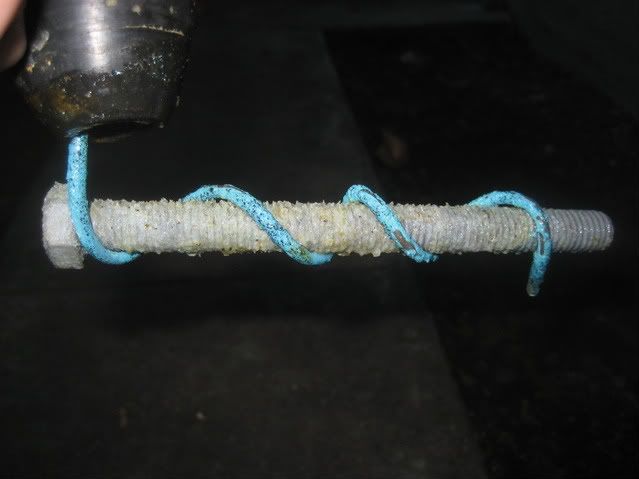
It's a pretty color, but I realized after a couple of 2 hours session that it wasn't that effective. I switched to a coat hanger and got much better results.
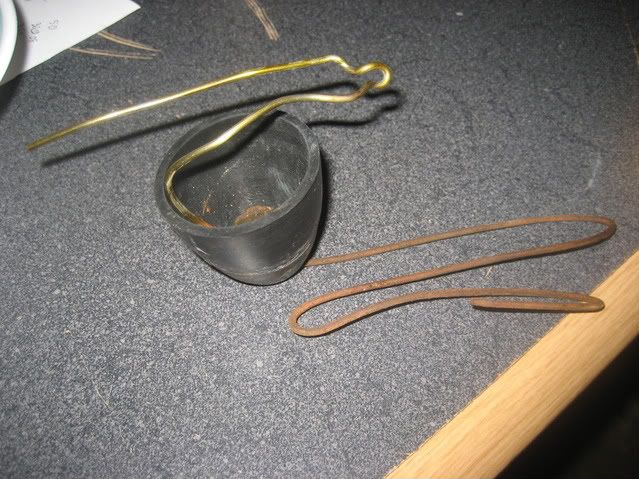
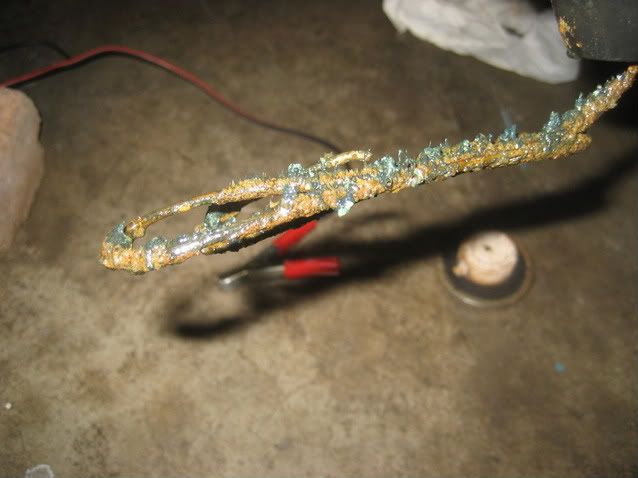
You'll have to clean the anode every 2 hours or so to remove all the crud. Repeat until no more crud collects on the anode. I replaced the water every 4 cycles or so.
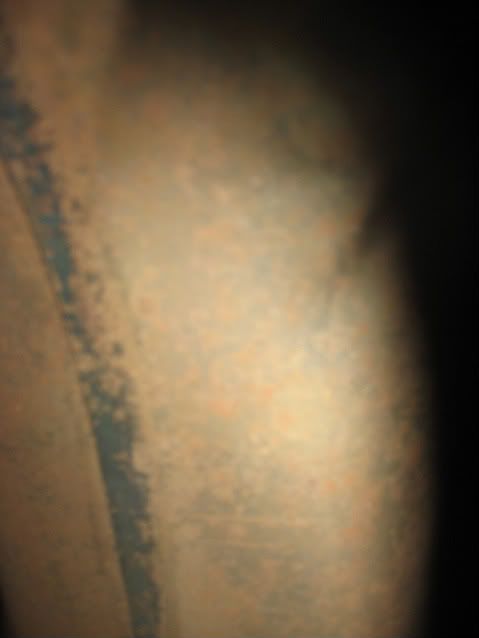
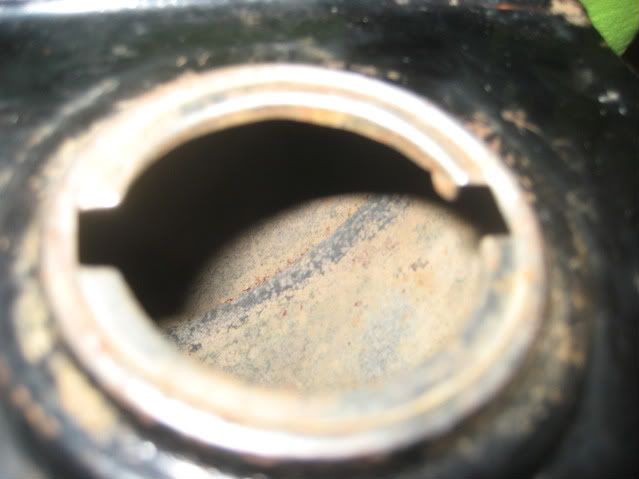
After you're done, the rust should be gone and in it's place will be a black substance. Put the BBs/nuts in the tank and shake the tank to loosen all the black stuff. Rinse with water, and you should have a new tank on your hands! I got tired of shaking so mine could have looked better, but there was a large improvement!
Other tips
If you use steel, it's OK to dump the water in the ground. If you use stainless steel, it is ILLEGAL to dump the water on the ground
Do this in a ventilated area. The process breaks water apart into oxygen and hydrogen, and both are flammable.
Good luck!


