-
Spargett
- honda305.com Member
- Posts: 592
- Joined: Wed Jun 18, 2008 10:19 pm
- Location: Los Angeles, CA
Post
by Spargett » Sun Mar 21, 2010 4:08 am
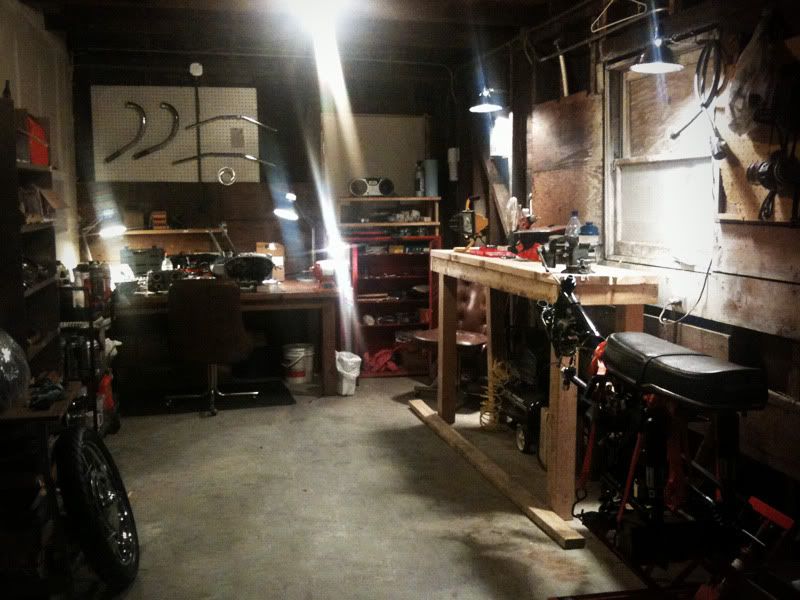
Part of the delay in work was due to setting up a new workshop. I have a large flat in downtown Sacramento; unfortunately no garage. I was able to rent an alley facing garage a few blocks away. Took about a week of setting up to get back into the swing of things. Let me tell you, sure beats working on a kitchen table or small uncovered patio. No longer a slave to weather or daylight.
(still finishing the unusually tall workbench on the right, needs to be cut down. Sure makes the garage look smaller than it is!)

-
Gunner_CAF
- honda305.com Member
- Posts: 316
- Joined: Sun Oct 12, 2008 5:28 pm
- Location: Wisconsin, USA
Post
by Gunner_CAF » Sun Mar 21, 2010 11:02 am
Looks like a nice workshop!
Gunner
-
Spargett
- honda305.com Member
- Posts: 592
- Joined: Wed Jun 18, 2008 10:19 pm
- Location: Los Angeles, CA
Post
by Spargett » Fri Apr 02, 2010 11:10 pm
Sorry for the delay in updates. I got the engine all reassembled a while ago. Had to rely on my cellphone for grabbing those shots.
I took a sanding pad a cut a nook out to help brace the piston when lowering the cylinders on. I used a hose clap as a makeshift piston ring compressor. I wouldn't say it worked perfectly, but made the whole process pretty simple when doing it by yourself. Running the cam chain was the usual puppetry act of wires, but also went without a hitch for the most part.
-
Attachments
-

-

-

-
Spargett
- honda305.com Member
- Posts: 592
- Joined: Wed Jun 18, 2008 10:19 pm
- Location: Los Angeles, CA
Post
by Spargett » Fri Apr 02, 2010 11:16 pm
Got some good results polishing. Of course this took hours of sanding first, some of these 'new' aluminum parts were in rough shape with some deep nicks, oxidation, or scratches.
The oil filter was powder coated black and had deep gouges running from the bottom to half way up from what I assume was caused by it's weight falling on a shift lever. The stator cover looked about the same on the front as it does in back.
-
Attachments
-

-

-
Spargett
- honda305.com Member
- Posts: 592
- Joined: Wed Jun 18, 2008 10:19 pm
- Location: Los Angeles, CA
-
G-Man
- honda305.com Member
- Posts: 5681
- Joined: Wed Mar 25, 2009 5:17 pm
- Location: Derby, UK
-
Contact:
Post
by G-Man » Sat Apr 03, 2010 1:40 am
Looking really superb again. Excellent work. How's the rider?
G
'60 C77 '60 C72 '62 C72 Dream '63 CL72
'61 CB72 '64 CB77 '65 CB160
'66 Matchless 350 '67 CL77
'67 S90 '77 CB400F
-
Spargett
- honda305.com Member
- Posts: 592
- Joined: Wed Jun 18, 2008 10:19 pm
- Location: Los Angeles, CA
Post
by Spargett » Sat Apr 03, 2010 2:20 am
I'm doing great, thank you. More eager than ever to get back on the road again. My main hold up at this point is getting my fenders and air filter covers back (and a slight hang-up with my fork lowers) I have a friend who does award winning hot rods doing them for me, so they'll finally get the quality they deserve. I was rather unhappy with how they turned out powder coated. I don't advise taking that route there.
G-Man wrote:Looking really superb again. Excellent work. How's the rider?
G

