'64 CA77 "reconstruction"'64 CA77 "reconstruction"EDIT: If you want to see all of the photos in this thread, you will need to install the "Photobucket Fixer" extension.
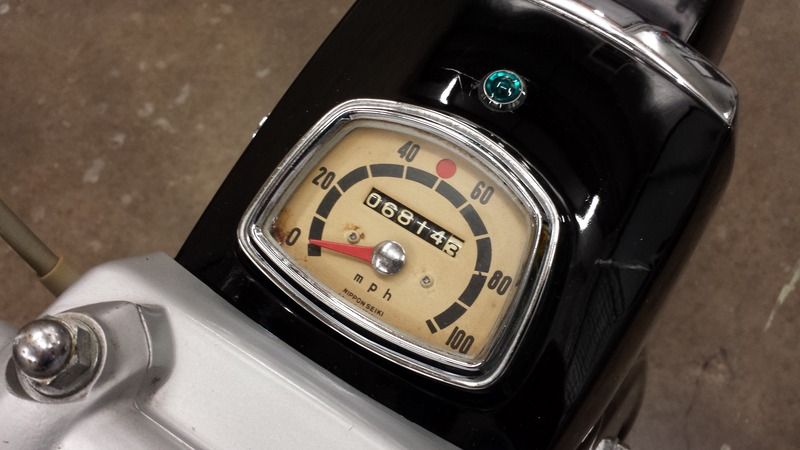
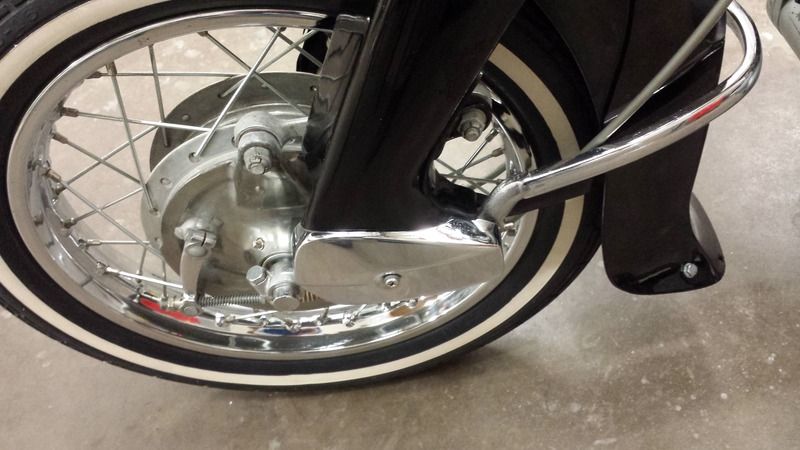
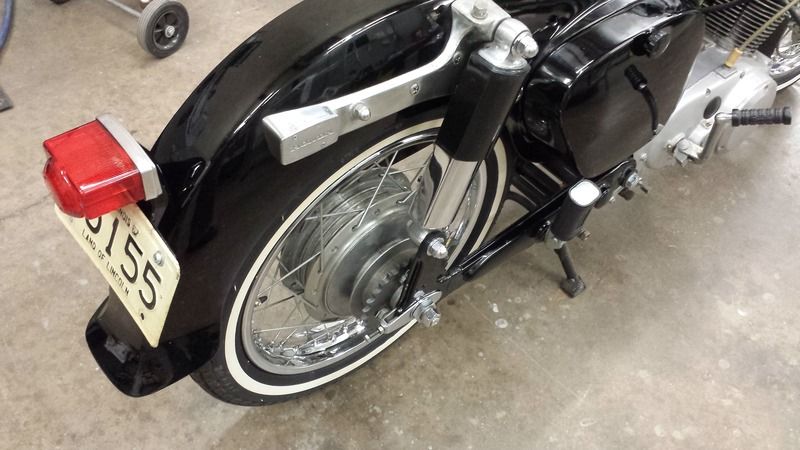
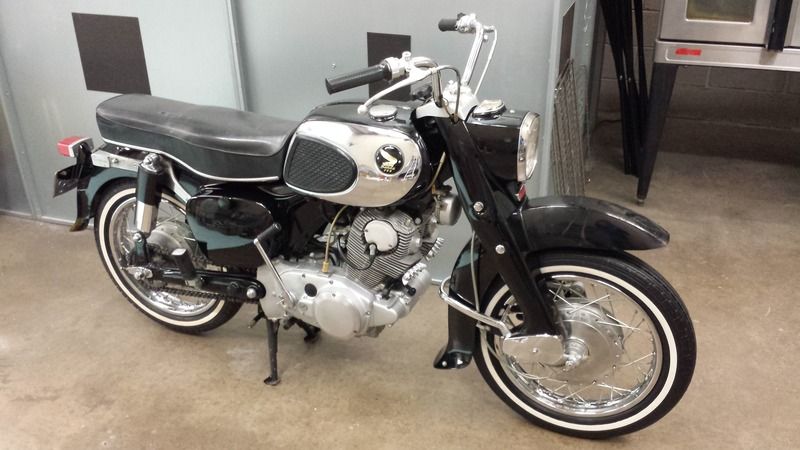
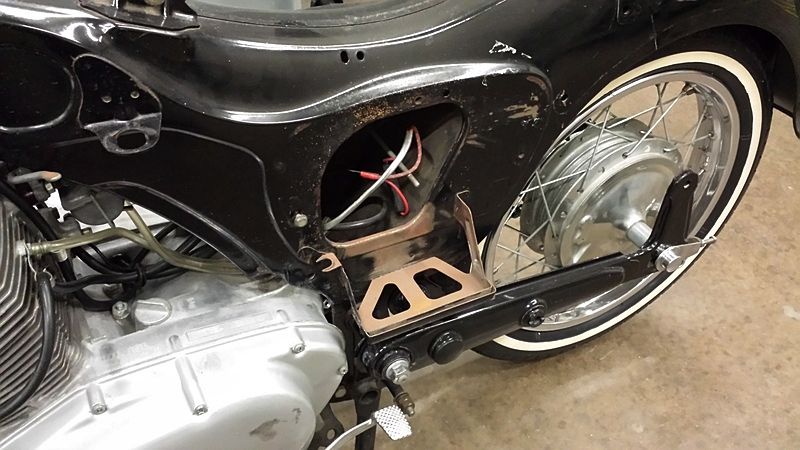
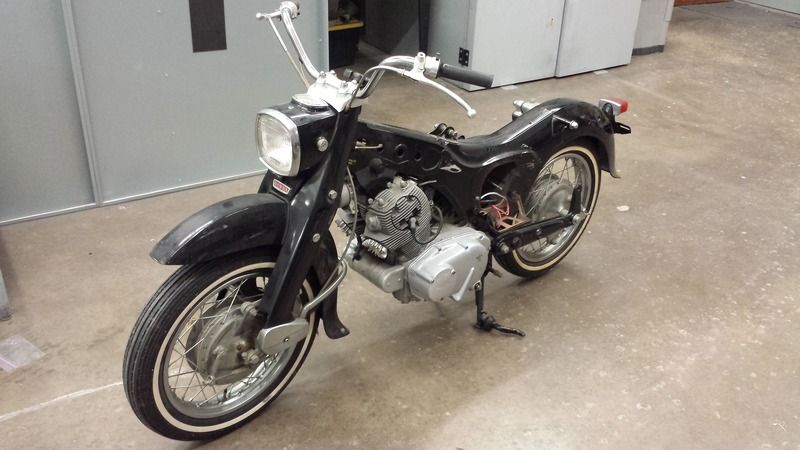
This is a link to a "Photobucket Fixer" extension for Chrome - https://chrome.google.com/webstore/d...giikdkpmcpkaon There is also one available for Firefox - https://addons.mozilla.org/en-US/fir...obucket-fixer/ These do work! It makes all the dead photos alive again, so you can view them as usual. It works only for the computer that has it installed, and doesn't fix the thread itself. New member, but not a new Dream owner. I purchased this Dream from a friend that had numerous immaculate vintage Hondas, including a near-perfect and original red CA77, a CL77, a CB450, and a cool CB160 with some factory accessories. I bought this Dream about 20 years ago, before my first son was born, and started taking it apart. My intention then, and now, is to "reconstruct" it instead of doing a full "restoration". I've only repainted areas that were scratched or rusted, and just cleaned-up the rest. I'm trying to do my best to not go overboard and make it "perfect" - just as good as it was back in the day. Anyway, here are some progression photos - I've been digging through boxes of parts I haven't seen in 20 years, and finding a few surprises. Just found that I have a set of the correct gold wing tank badges I didn't know I had. Seem to have most of what i need to get it back together, but there are a few areas that need some minor paint work first (that's why i took it apart in the first place). CA77s aren't super-rare or anything, but this one is special because of how original it is - and will be when completed. I would say it's going to be about 90% original when done, with the exception of a few repainted areas and maybe the seat cover. Even the tires are original! Hard to believe they are not all cracked by now, but they are pretty good. I've got about 3/4 of it cleaned and detailed, and plan to fire it up after doing the paintwork. Luckily, I have a set of the correct original Honda mufflers that would probably be difficult to get now. Need to order a few things, but it looks like what I need is out there.
Last edited by jkv357 on Fri Sep 22, 2017 8:45 am, edited 1 time in total.
Tossed the tank and seat on just to see what it should look like. They haven't been on it in 20 years -
Need to get a rebuild kit for the petcock. Found a box of NOS parts I bought years ago, and put on a NOS grip and a few other small items I needed. Not sure what I'm going to do with the seat cover yet. It has a gash in the top, but I really don't want to put a brand new cover on it. Paint touch-ups are next, then I'll start reassembly. Thanks - luckily it spent most of the last 20 years in my shed and some time in my basement.
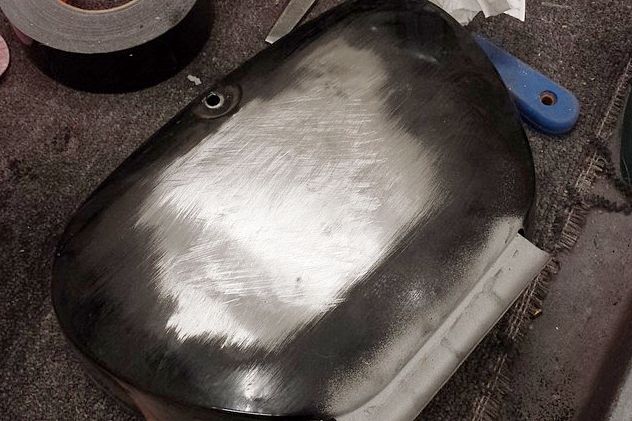
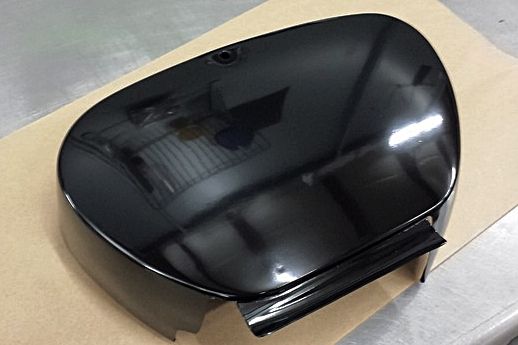
Worked on removing the dents in the side cover - Tried to recall my old bodywork training, and work the dents out with a pick hammer and file so I don't need to use any filler. Slow, but eventually got it. After paint - Still needs some polishing when it's fully cured, but I'm happy with it. The little circles at the bottom of the cover are factory spot welds, so I didn't want to "fix" them. Trying hard to keep all my repairs from standing out - so they can't be too good. I spent almost 10 years working professionally in auto body as a painter and bodyman, and currently own a custom powder coating business - so you'll probably see me chiming in on paint and powder coating threads. Jay www.apexcustomcoating.com It took me 20 years, but i finally got the frame painted!
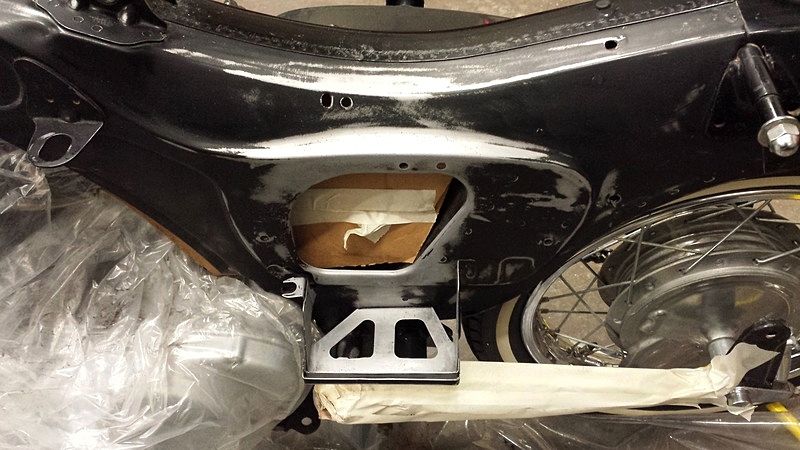
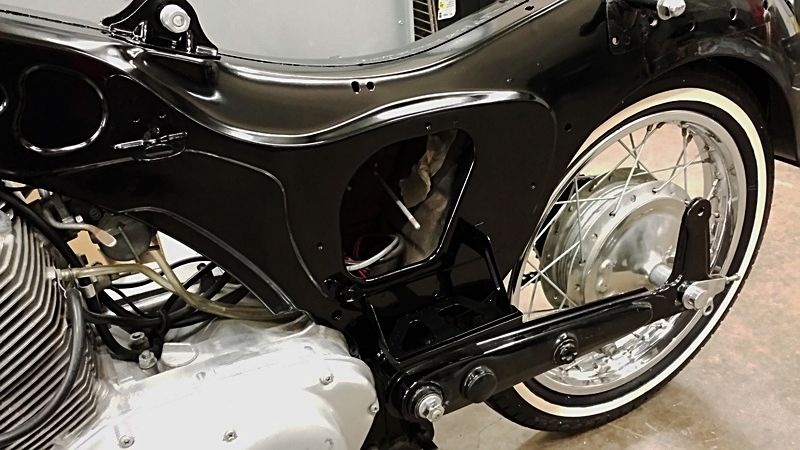
I started sanding on it 20 years ago, then it sat and rusted - After more sanding to remove the rust and some chemical metal prep - After primer and a few coats of gloss black - Still needs to be polished-up a bit when it's fully dry, but it shouldn't take too much. Some comments on paint and other things - I saw some talk about the original paint, and if it had any primer or under coat. After sanding it, I can say that there isn't any primer to speak of, and only a very thin (about 1 to 1.5 MIL - .001 to .0015") paint thickness according to my thickness gauge. That's about as thin as you can apply paint! I also saw some talk about powder thickness where it was said that it would be in the .010 to .020" range - that's WAY too much! Powder should end up in the .003 to .005" range for a single coat on smooth metal if done properly. Automotive paint and primer will come in pretty close to that. The difference is the chip resistance. Powder will win every time. Another thing I wanted to correct was the comment that fillers can not be used when powder coating. Standard fillers can't, but there are special fillers that are designed for use under powder that can take the heat. They are difficult to work with, but do make it possible to fill imperfections in the same way you would before painting - it's just a bit more difficult and time consuming to do. Jay www.apexcustomcoating.com
|