honda305 Home honda305 Auctions honda305 Gallery honda305 Forum


honda305.com Forum

Login
□ Search
□ FAQ 
□ 
Vintage Honda Owners,
Restorers, Riders and
Admirers

1962 Superhawk Restoration: Here I go

Post Reply
Spargett
honda305.com Member
Posts: 592
Joined: Wed Jun 18, 2008 10:19 pm
Location: Los Angeles, CA

Post by Spargett » Tue Jun 16, 2009 3:08 am

Here's a side by side of the condition of the spokes before and after. There's quite a bit of corrosion and all sorts of nastiness. It was quite a pain just break the thread from the nipple during disassembly. Which would spill all kinds of a white powdery substance from inside the nipple. (see here) Below is the spoke and nipple after spending some time with it. I'll go through and bring the remaining 71 back to life. Nothing beats OEM. I noticed a very slight expansion of the spoke's width in the last 1/4 of length near the head. View larger to see.

Image

I picked up some nice numbered heat shrinks at an electronics supply store. Great for keeping everything in order. It'll be really handy when undergoing maintenance in the future. I also re-heat shrinked the entire assembly of most wiring throughout the bike. The contacts will get a solid cleaning once reassembly begins.

Image

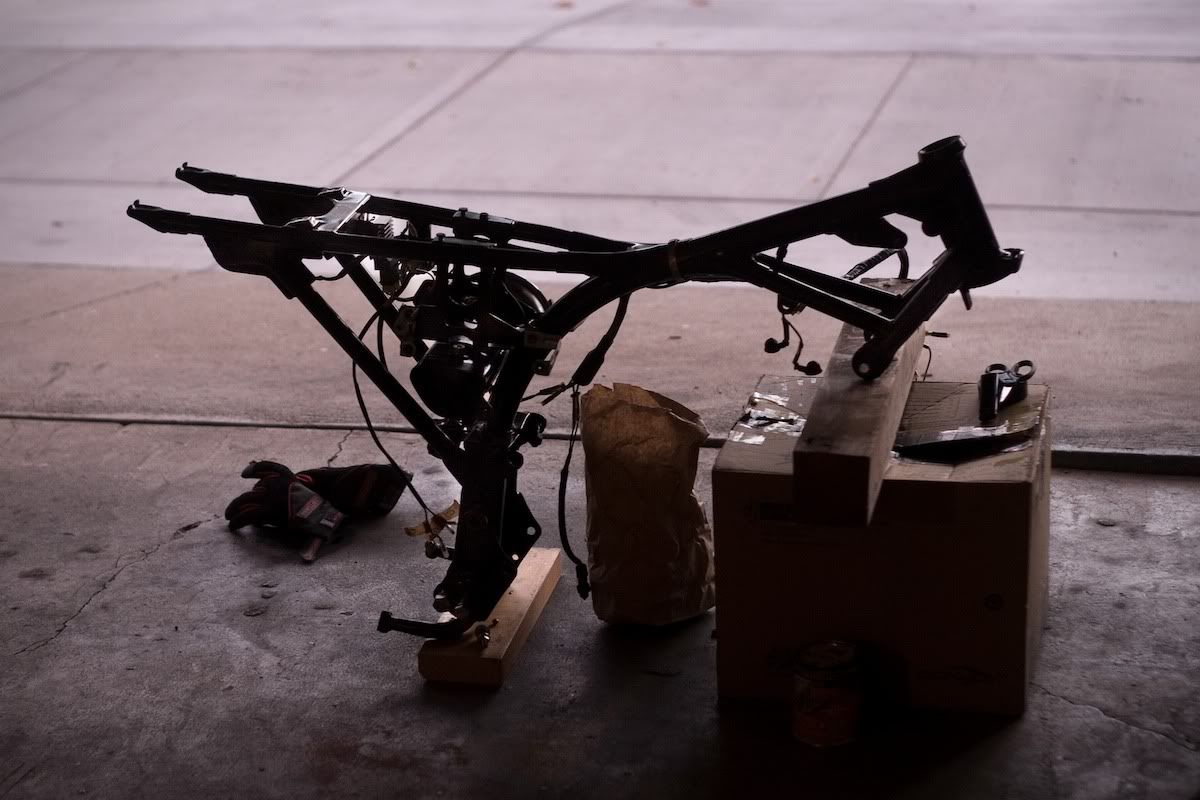
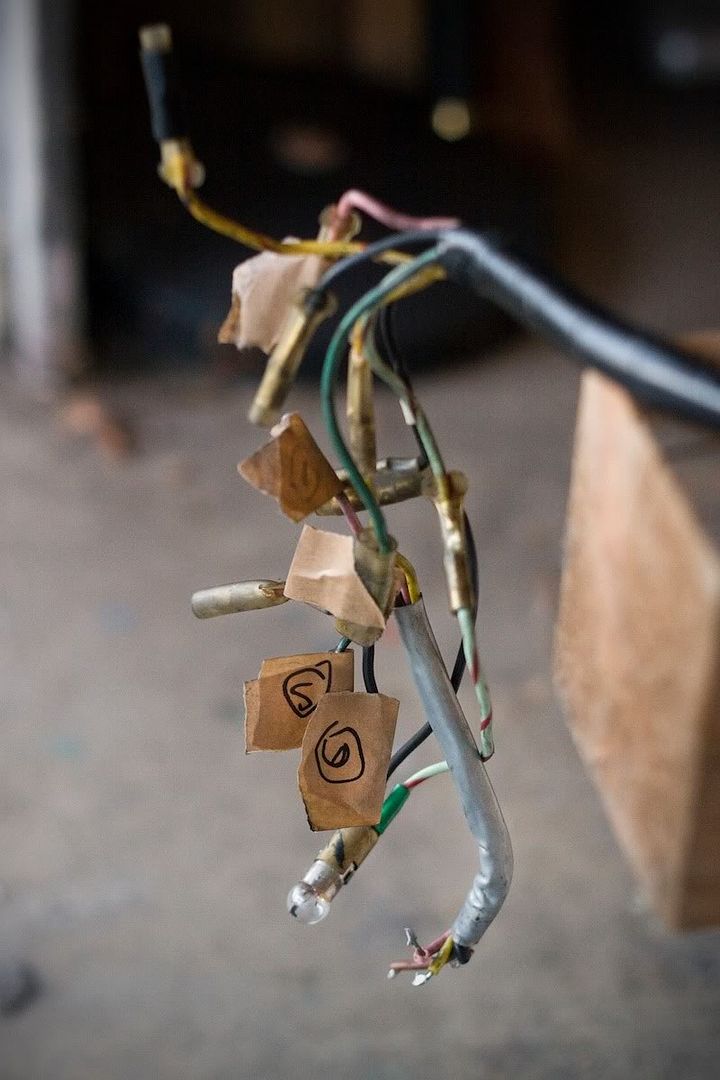
Here's more of the general mess that'll be taken care of.

Image

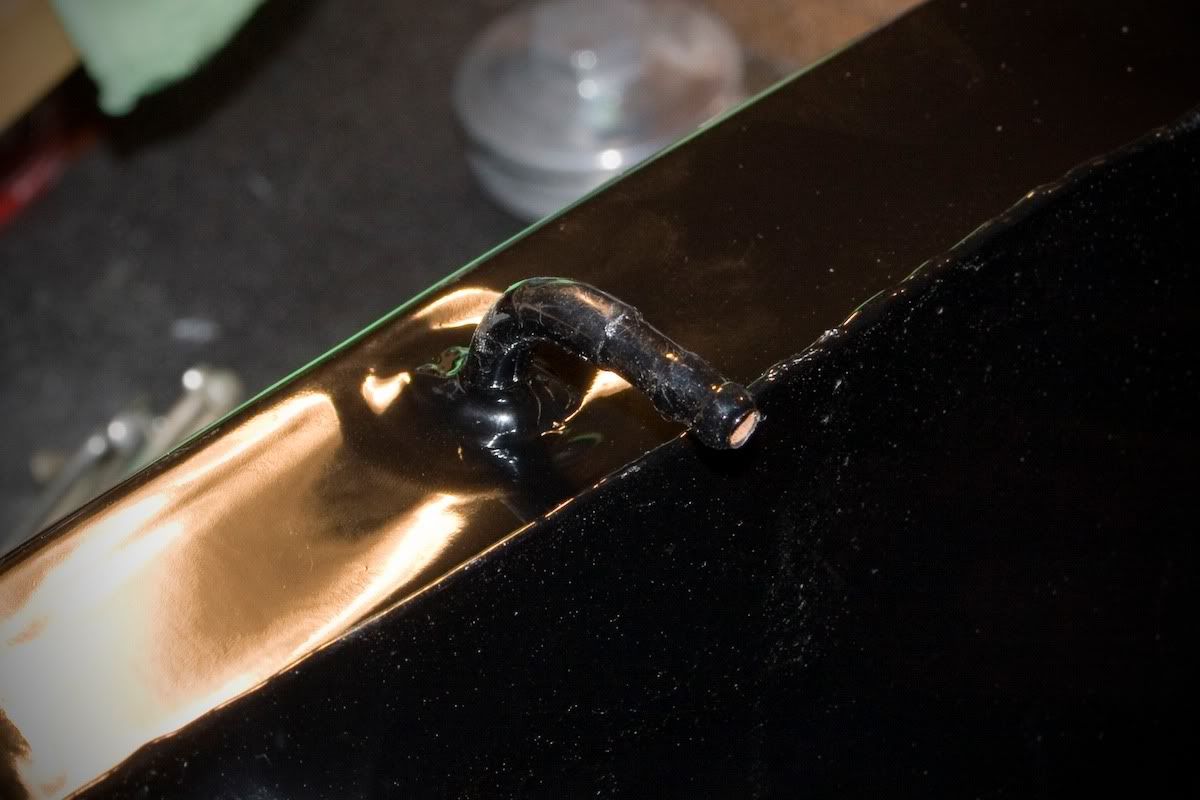
I had some very light existing chips in the powder coat, so I made a very small brush to go over them with the POR-15. I cut a number of "hairs" from a larger brush to make this one. Worked well.

Image

Wrapping up the frame work.

Image

Spargett
honda305.com Member
Posts: 592
Joined: Wed Jun 18, 2008 10:19 pm
Location: Los Angeles, CA

Post by Spargett » Tue Jun 16, 2009 3:24 am

I noticed on this photo that the brake linkage isn't secured down by a nut. Looks like a screw possibly tightens it from the side. Is this a later year thing? Mine is a '62 not sure what year this bike was.

Image

I put mine back just how it was when I got the bike (sans linkage spring right now).

Image

Spargett
honda305.com Member
Posts: 592
Joined: Wed Jun 18, 2008 10:19 pm
Location: Los Angeles, CA

Post by Spargett » Tue Jun 16, 2009 3:28 am

...
Last edited by Spargett on Sun Aug 02, 2009 6:21 pm, edited 3 times in total.

Spargett
honda305.com Member
Posts: 592
Joined: Wed Jun 18, 2008 10:19 pm
Location: Los Angeles, CA

Post by Spargett » Tue Jun 16, 2009 3:33 am

I'm going to coat the inside of the tank. But first I need to run some MEK through to clean it out a bit. The Kreem wasn't completely rinsed out of the small nozzle last time, and has since harden, blocking it off again.

I was wondering what are some things that could be used to plug it while coating. It'd have to be pliable, sealable, and flexible enough to follow the curve. Rubber is the first thing that comes to mind, but finding the exact width, long enough sounds like a challenge, and could potentially break off inside. Thoughts? I'm kinda stumped on the process.

Image

Spargett
honda305.com Member
Posts: 592
Joined: Wed Jun 18, 2008 10:19 pm
Location: Los Angeles, CA

Post by Spargett » Sun Aug 02, 2009 6:01 pm

Image

Threading this took threading two guitar strings through the ends of each side of the cam chain, then creating a loop on on end, bending it around, then feeding it deep underneath and grabbing it on the other end with a hooked tool.

Of course, the cam chain roller (in between the two pistons). Removed by two 10mm bolts.

This entire process was very tricky in the sense that it took four synchronized hands all working together in unison to handle start to finish.

Image

Image

Here you can see that the cylinder is encompassing two of the three rings on the right side piston. Working it's way down, one fragile ring at time.

Image

Image

Cylinder has been lowered on and the cam chain is draped over each end awaiting the remainder of the top end.

And now I'm stuck because for the life of me, I can't find the two green o-rings that go around the knock pin on top of the cylinder. I've placed an order with Western Hills Honda. More waiting...

Spargett
honda305.com Member
Posts: 592
Joined: Wed Jun 18, 2008 10:19 pm
Location: Los Angeles, CA

Post by Spargett » Sun Aug 02, 2009 6:07 pm

Image

There was an old stained and ragged piece of felt in place to act as what I assume to be a vibration dampener. This wasn't stock, but still not a bad idea.

You can see the fender color that came back from the powder coaters here. Its a little lighter than I'd prefer, but at this point I just want to get the thing going so bad I can barely see straight.

Image

The frame in early stages of reassembly. Center stand, rear fender, tail light, ignition coils, aftermarket "super horn", and wiring harness are in.

Not much method here, just grabbing what makes sense at the time.
Last edited by Spargett on Sun Aug 02, 2009 6:22 pm, edited 1 time in total.

LOUD MOUSE
honda305.com Member
Posts: 7817
Joined: Mon Aug 15, 2005 8:23 am
Location: KERRVILLE, TEXAS

Post by LOUD MOUSE » Sun Aug 02, 2009 6:14 pm

Any chance ya have a pic of the tail light bracket before the new finish?. ................lm

Spargett wrote:Image

There was an old stained and ragged piece of felt in place to act as what I assume to be a vibration dampener. This wasn't stock, but still not a bad idea.

You can see the color that came back from the powder coaters here. Its a little lighter than I'd prefer, but at this point I just want to get the thing going so bad I can barely see straight.

Image

The frame in early stages of reassembly. Center stand, rear fender, tail light, ignition coils, aftermarket "super horn", and wiring harness are in.

Not much method here, just grabbing what makes sense at the time.

Post Reply


CB-77 | CYP-77 | Road Test | Riding Log | Literature | Zen | Marketplace | VJ Survey | Links | Home