honda305 Home honda305 Auctions honda305 Gallery honda305 Forum


honda305.com Forum

Login
□ Search
□ FAQ 
□ 
Vintage Honda Owners,
Restorers, Riders and
Admirers

1962 Superhawk Restoration: Here I go

Post Reply
Spargett
honda305.com Member
Posts: 592
Joined: Wed Jun 18, 2008 10:19 pm
Location: Los Angeles, CA

Post by Spargett » Sun Jan 25, 2009 4:40 pm

Image

The cover is polishing up pretty nicely, but it sure make any scratches highly visible. Is there any way to remove the scratches without ruining the aluminum? I don't want to just wing it and cause irreversible damage.

Image

I have some JB Weld applied to "problem" areas. I'll sand these down before primering to get rid of any visible gouges or scratches in the case. You can see alot of the scratches in this photo.

slopokecr
honda305.com Member
Posts: 55
Joined: Fri Dec 26, 2008 8:27 pm
Location: Honolulu

Post by slopokecr » Sun Jan 25, 2009 6:05 pm

Spargett wrote:Thanks for all the tips guys. I like the idea of the impact screwdriver. The theory sounds most efficient. I was also thinking of possibly cutting off the tops of each screw head, to make it more of a bolt. That way I can get the best grip on it. This is of course, a last resort.

Any thoughts on the starter chain looking loose? I don't really have any point of reference on what is "normal".

Thanks again for all the feedback and ideas. Much more in the works.
For removing buggered up screws like this, I have had great success by using a dremel (with cut-off wheel bit) to cut a slot that will accept a large flat head screw driver.
Aloha,Kent

Gunner_CAF
honda305.com Member
Posts: 316
Joined: Sun Oct 12, 2008 5:28 pm
Location: Wisconsin, USA

Post by Gunner_CAF » Sun Jan 25, 2009 7:24 pm

Your points covers do not look too bad. I am using an angle girder with a 4 in flannel buffing wheel. I hold the grinder lightly in a bench vice to polish the larger pieces like this. I have the stick polishing compound. Keep working them in different directions and they will polish up well. It will get a bit hot so work gloves are a good thing to have handy. When your done, buff it off with a soft cloth.

Gunner

Spargett
honda305.com Member
Posts: 592
Joined: Wed Jun 18, 2008 10:19 pm
Location: Los Angeles, CA

Commutator cover placement?

Post by Spargett » Tue Feb 03, 2009 3:14 am

I took the commutator cover off to try and clean it a little better. Now I can't seem to get the thing to stay on. My question is does the bottom lip go over or under the top lip?

When I hold them together and screw the screw back in, the thing just seems to pop right back out a second after I let go. I'm a tad puzzled as to how it was all holding itself together before.

Image

Spargett
honda305.com Member
Posts: 592
Joined: Wed Jun 18, 2008 10:19 pm
Location: Los Angeles, CA

Post by Spargett » Tue Feb 03, 2009 3:34 am

Image

Here's the clutch crankcase prepped and ready to be painted in the garage. You can see the bike in the background under the plastic tarp.

Image

Here's a shot of me in action for everyone of the forum. Here I am adding a second coat of primer to the clutch crankcase cover. I'm not intending to hide my identity. I'm rather bundled up for protection from the litany of things involved in painting/restoring a motorcycle. I've written off this set of clothes as damaged already. I have to say that my respirator is one of my favorite purchases. A $40 investment is quite the bargain considering the cancer and birth defects it helps you avoid. You can see a small sliver of light illuminating the stream of paint from the garage door being cracked open.

Image

I added some JB Weld to a few minor imperfections, scratches, and gouges on the case. After applying the primer I noticed that I hadn't sanded them smoothing enough. The texture really became apparent one the primer was added. I also don't feel like I pushed the epoxy deep enough into the gouges, as a few still remain. Trying to figure out a solution to that. More primer to attempt to fill it, or adding a spot putty/sanding, then more primer?

Image

This had quite a bit of external aluminum corrosion as well as oil deposits that built up on the inside of the cover. A 48 hour soak in parts cleaner and scuff pad seemed to do the trick getting it prepped. There's a few slight imperfection in the body, but I'm hoping with another coat or two of primer they can be sanded out.

Image

These guys weren't looking so hot when I got them off the bike. They're now quickly on their way to show condition.

Image

Image

Here is the chain guard stripped and primered. It will soon be painted black. 
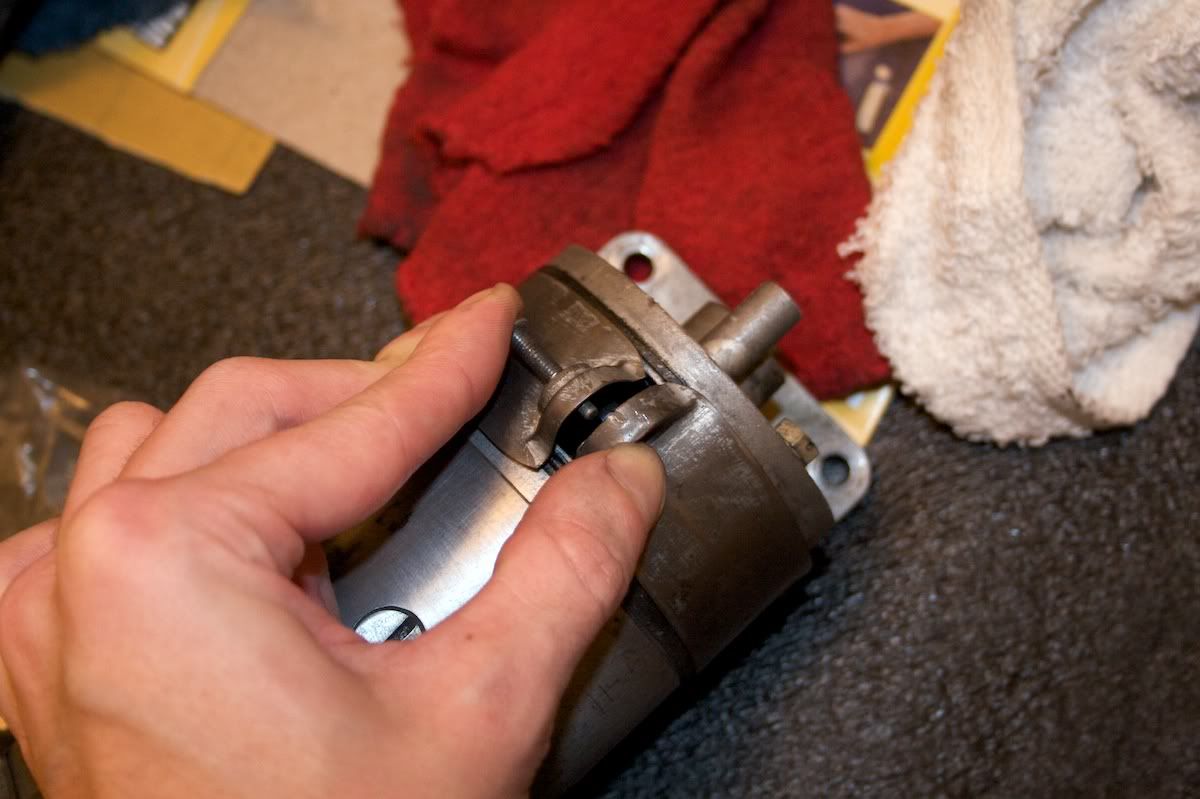
As you'll see here, someone decided to paint it silver along the way.

Image

- - - - - - - -

All parts were sandblasted with aluminum oxide media then cleaned (petroleum based parts cleaner to avoid flash rust), and prepped with a 320 grit 3M scuff pad. All parts are being primered with Dupli-Color Ceramic High Heat Engine Primer (500°). Taken from Duplicolor's site: "Both Engine Enamel and High Heat Paint formulas now contain ceramic resins for maximum heat dissipation and gloss retention. The resins also offer protection from exposure to excessive heat and automotive fluids. Developed and tested in the lab, Dupli-Color® Engine and High Heat Paints will perform to the most rigorous standards of racing and street rod enthusiasts."
Last edited by Spargett on Fri Mar 13, 2009 6:08 am, edited 1 time in total.

Spargett
honda305.com Member
Posts: 592
Joined: Wed Jun 18, 2008 10:19 pm
Location: Los Angeles, CA

Post by Spargett » Tue Feb 03, 2009 6:41 am

Has anyone ever used aluminum oxide media to sandblast their carbs? I have access to a friend's box that is already setup that media. So using something else isn't really an option for me. I was just wondering if its acceptable or not. I'll mostly be blasting the outside for cosmetic reasons and maybe the insides of the float bowls. Everything else looks good.

(See top right)
Image

User avatar
jleewebb
honda305.com Member
Posts: 472
Joined: Fri Jun 08, 2007 3:37 pm
Location: travis county, tx

chainguard color.

Post by jleewebb » Tue Feb 03, 2009 11:11 am

Good on you for changing color of chain guard back to original. That'll make the purists happy. Can we presume you'll be making the tailight bracket silver and installing a "flipper" on the rear fender? Not a superhawk without the flipper IMHO. Actually your bike was called a "supersport" when it was new, "superhawk" designation came later. It may have been blue originally, most cb77s were per Silver book. Priming my frame the other day I noticed a good place to check for original paint color, up inside the frame where the steering stem goes through, can't tell if it was actually painted or just overspray, but definitely some blue paint up in there. This is assuming you've removed front fork, of course.

I'm enjoying your restoration posts, I'm at about the same place on my restoration of a very similar bike, just not keeping up with posting progress as well as you are. I did post a bunch of pix on Flickr the other day before my pro-plan expired, haven't gotten around to putting in labels and comments.
Anyway, going to painter next weekend if weather cooperates, he's a friend and won't charge me extra for watching and helping. Your pix are great, particularly the one with the light from garage door catching paint spray. Intentional, right?

I guess we'll see who gets done first. I'd bet on you, I'm kinda pokey, but getting excited about getting all the pieces put together. Thanks for the inspiration. Lee

Post Reply


CB-77 | CYP-77 | Road Test | Riding Log | Literature | Zen | Marketplace | VJ Survey | Links | Home