


Good point with the coil heat Jensen. Any ideas off the top of your head for taking up the few extra mm of space? Maybe just some rubber on each end of the brackets where they wrap around, leaving the middle open to breath?
Yes, lots of great misc. technical details on the SOHC4 forums. I've been learning alot reading through there. Excellent documentation and thorough well spoken explanations.
1962 Superhawk Restoration: Here I goCurrent restoration: 1962 CB77
http://www.flickr.com/photos/1962_cb77_restore/ So I replaced my entire transmission with Fast Fred's original CL trans. They aren't spakin' new, but in far far better condition than mine were. I also x'd the gears while I was in there. Sure was alot of work for doing that the first time. I sure am glad that I did it though, brought me a much deeper understanding of the bike's engine that I was lacking.
It was hard but surprisingly simple at the same time. As long as you keep very close track of the parts and take your time, everything should be fine. Silver's engine manuals were a great help, along with a few quick calls to Loud Mouse to get some quick clarification. What I would refer to as "Pro Tips", such as: 1. If you can't get cases apart with a mallet (usually because of the sealant), you can flip the engine on the side and tap the the two screws that come out the top with the 14mm nuts threaded to the edge. 2. The kickstart pawl will click as you rotate the mainshaft, just rotate the kickstart shaft backwards all the way and hold it indexed. Normally the kickstart arm keeps this here, but when the engine is still being reassembled this will happen. Quite a scary sound after the amount of time spent making sure everything is perfect and sealing the case up. Here's a quick video of everything installed and in action. 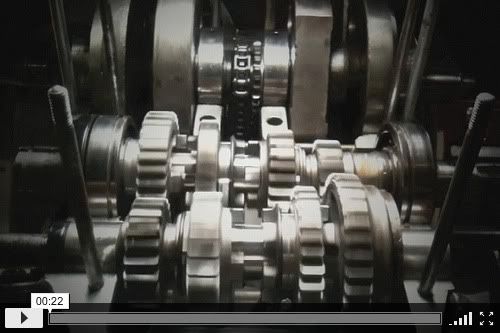 Current restoration: 1962 CB77
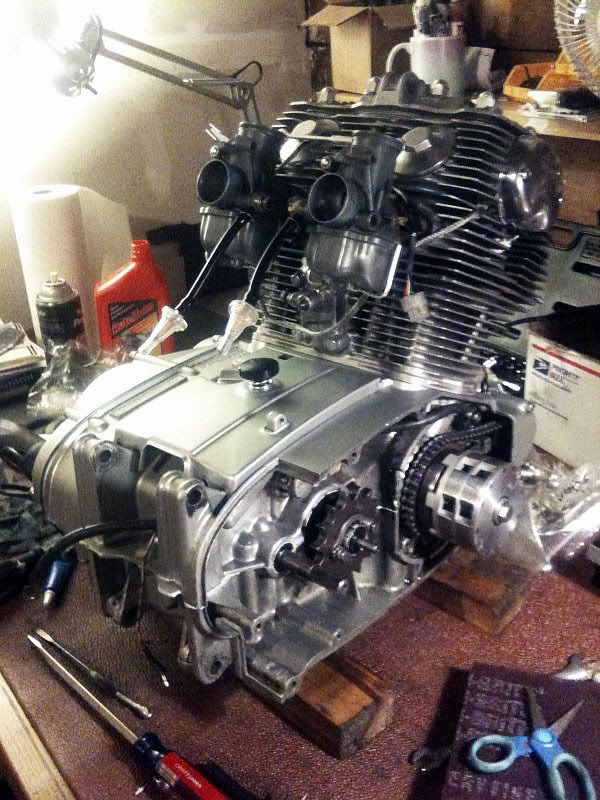
http://www.flickr.com/photos/1962_cb77_restore/ Got the engine all bolted up with new seals and gaskets. Went through and refined quiet a few components in the process. Helicoiled a few threads that needed it. New stator should hopefully arrive today.
 Engine back in the frame. 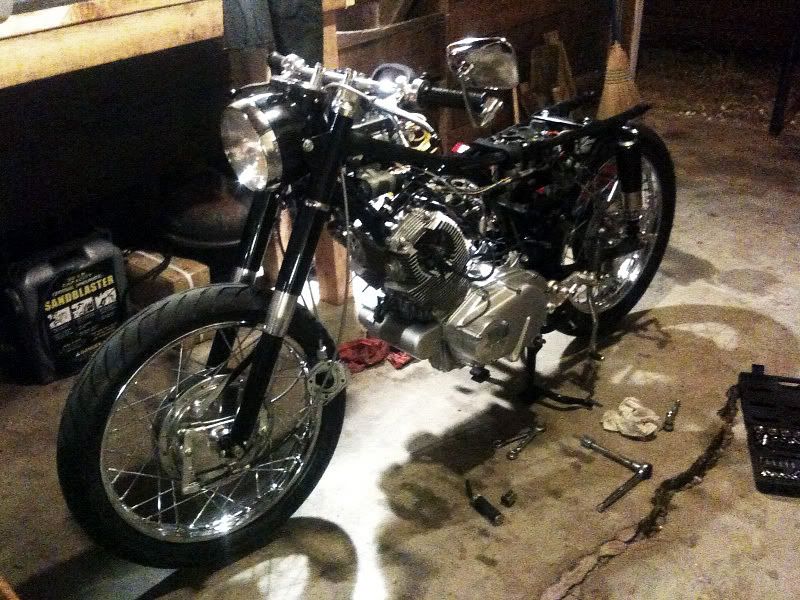 As I was tightening the steering dampener a bit to keep the wheel from rotating while jacking the engine in, the crown shaped "steering spring" (53763-268-000) broke in a few places, so as of now, the steering has zero tension on it. Referring to the parts manual, the bike never came with the following steering components. They haven't seemed to effect steering at all. Thoughts? BOLT, FRICTION DISK ANCHOR 90118-268-000 PLATE B, STEERING DAMPER X 001 53762-268-010 PLATE A, STEERING DAMPER 53761-268-010 NUT, STEERING DAMPER LOCK X 001 90319-268-000 Current restoration: 1962 CB77
http://www.flickr.com/photos/1962_cb77_restore/
Steering dampeners are used to slow the steering input when the front end gets light (wheelies, unloaded over bumps, etc). If you don't encounter any of these situations, it has no affect. You can feel the resistance when the front wheel is raised off the ground. I took mine off to minimize "extra" parts. If you want to do a correct restoration, keep it. It has a little extra safety margin if you hit bumps at high speed. It will keep the front end front from slapping left and right (ie tank slapper). You'll have to experiment with how much you want to damp the steering.
One question back to you: how did you get rid of the condensor? 63 cb77 cafe
www.eyhonda.com
Never mind about the condenser! LM pointed out my mis-observation of the electronic ignition! Now, I wonder if I can use those low ohm coils (XS650) with my stock points and smaller scooter battery. It's twice the stock load with a battery half the size! Maybe not!
63 cb77 cafe
www.eyhonda.com
| |||||||||||||||||||||||||||||||||||||||||||||||||||||||||||||||||||||