


Its been interesting reading of your restoration. You are making good progress.
One thing that nearly popped my eyeballs out was seeing you painting parts in the garage with a water heater. Fumes dont only smell bad, they are sometimes flammable and that nasty little pilot light likes to make things go boom. Be careful!
1962 Superhawk Restoration: Here I go
Yes, thank you for your concern. It was something I was very aware of and managed by airing out the room periodically while having a fan in the windows constantly sucking out the air.
Fire extinguishers were always within arms reach. I always found it ironic that the water heaters are placed directly next to the largest amount of flammable and combustible products in a household.
Current restoration: 1962 CB77
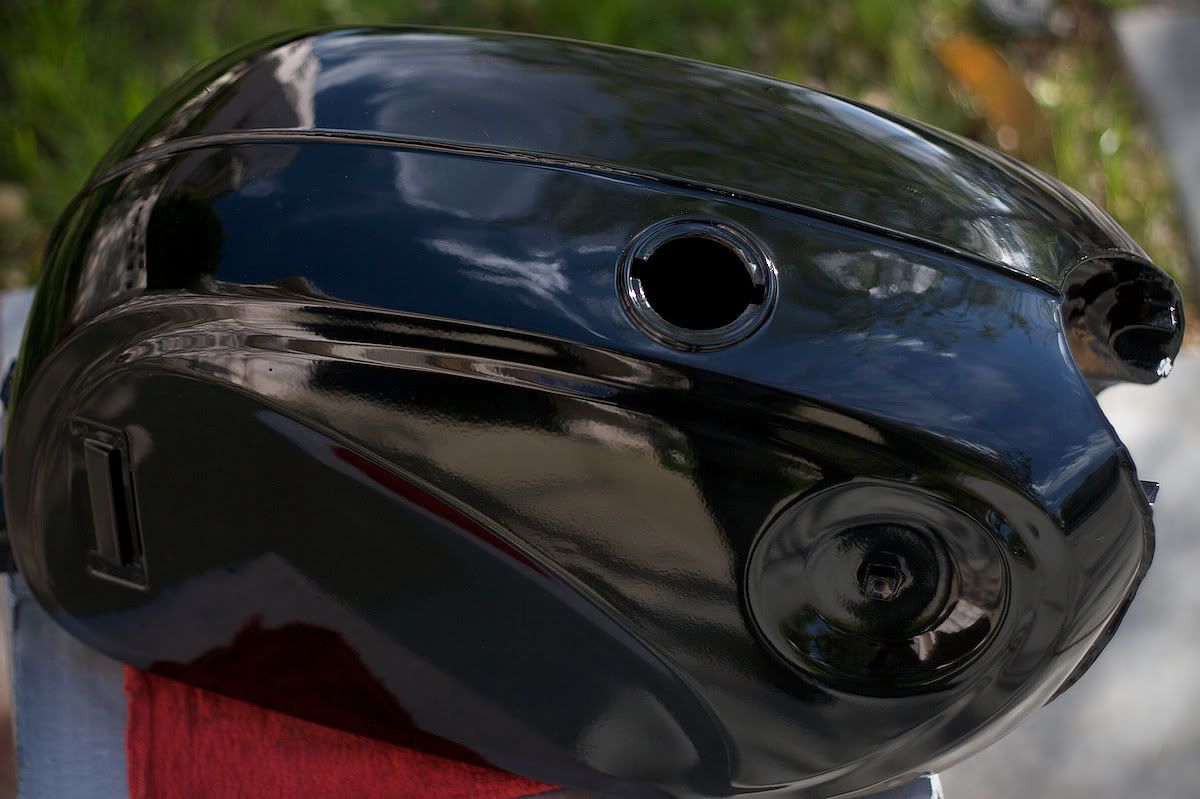
http://www.flickr.com/photos/1962_cb77_restore/ It's been a long road for this tank. I just got it back from Accessory Powder Coating. Tim did a great job there for a great price. I highly recommend his work. He even sandblasted the inside of the tank a bit to help with some of the flash rust in the bottom.
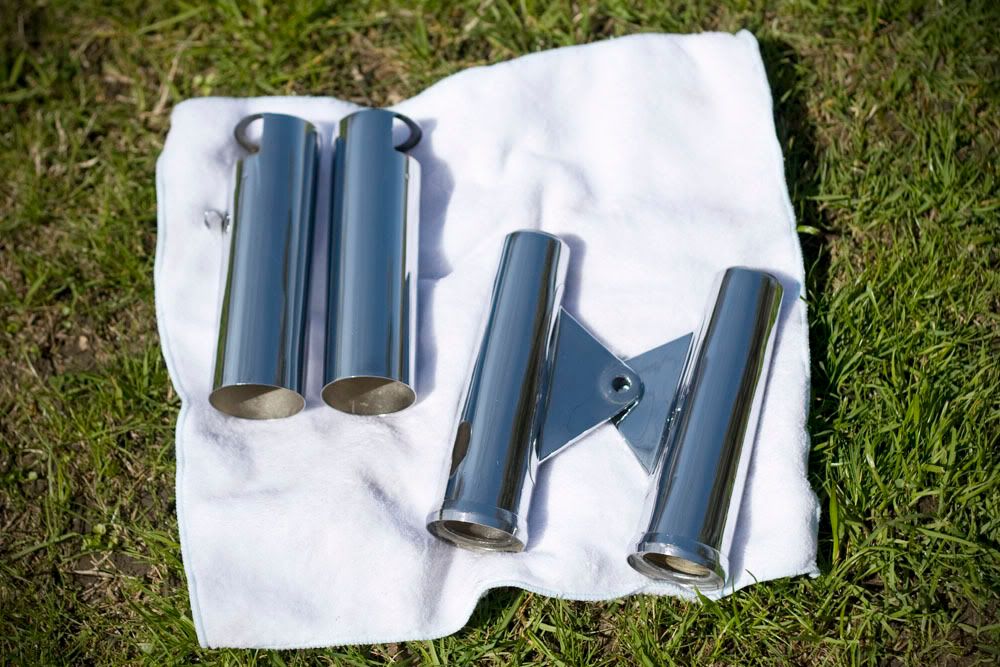
The old paint was chipping and bubbling in numerous contact spots. I'm going to give it a muriatic acid soak, then line it with the POR-15 sealer. Then she'll be good as new again. Here's an alternate detailed view of the final paint. 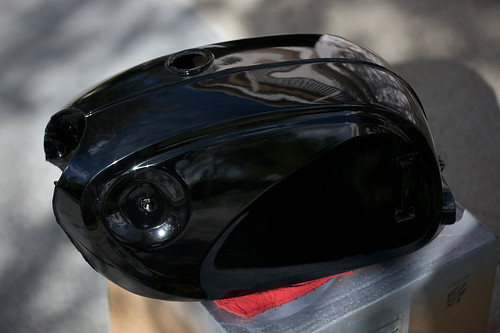 They are suppose to be black, but the previous owner had them chromed (odd). The chrome looked nice, it just wasn't stock, which I feel looked the best anyway.  There were numerous spots where the paint was chipping and some metal corrosion. (see photo).  Note: Front & rear fenders, as well as the air filter covers should be ready by the end of the week.
Last edited by Spargett on Thu Apr 23, 2009 8:55 pm, edited 1 time in total.
Current restoration: 1962 CB77
http://www.flickr.com/photos/1962_cb77_restore/
swingarm bushings?Are the bushings plastic or metal? On my old cb400f, they were plastic and were prone to warping. I had a friend machine a duplicate set in brass. Whatever the case, they should have been removed prior to powdercoating. Same thing for the lower shock bushings. Were these pressed out prior? If so, order up a set of new ones from your favorite NOS store (David Silver Spares) and press them back in.
Re: swingarm bushings?Only the small rubber swingarm bushings in the rear were not removed before painting. Small oversight.
Current restoration: 1962 CB77
http://www.flickr.com/photos/1962_cb77_restore/ Here's most of the top end post bead blasting and cylinder boring. Waiting to get the cam shaft bearing pressed and I'll get the remaining piece of the top end back. Then it's time for reassembly.
You'll also see the new pistons to the right. The vales have been recut, new camshaft bearings, cam chain, piston rings, and new valve springs. More photos and updates to come.  Here's a little before action.  Current restoration: 1962 CB77
http://www.flickr.com/photos/1962_cb77_restore/
| |||||||||||||||||||||||||||||||||||||||||||||||||||||||||||||||||||||